It’s a great time of year to get outside and brush up on those hiking skills whether you’re headed out on a day hike or multi day trip. This week I’m cracking open the archives and kicking off a trail tips series. This page is under construction, and will be updated with each post. Thanks for joining!
Follow along at @wandering.pine and Wandering Pine for more tips for the trail!

Five Tips for Getting Started
“What’s the difference between a walk and a hike?” That’s up to you!
Generally, I like a hike to be at least 3 miles and mostly on dirt. You get to decide what a hike is for you! 🙂
Here are 5 tips for getting started:
- Know before you go: in addition to online planning resources I like to ask the rangers or staff about conditions and what their favorite trail is-they have the deets. Prepare for weather before you go and learn about Leave No Trace practices.
- Before you hit the trail, always make sure you tell someone where you are going and when you will be back, have water, and your 10 essentials including a basic first aid kit and sun protection.
- Don’t wait for perfect weather or trail conditions. Lots of beauty can be found on a winter walk or drizzly spring day. I love a challenging wilderness trail and also appreciate accessible trails that are closer to home. You don’t always have to drive far to get to a good hike.
- Broaden your expression of hiking and movement. Walk every day. Take the stairs, get off the bus early, grab the furthest parking spot and create ways to integrate more movement in your day however you are able. Your body and mind will thank you!
- Start slow and see if you can increase a mile or two per week. Once you are comfortable with 3-5 miles, gradually add weight to your pack and increase mileage to build endurance.
To read more about how to get started, check out this blog post and follow @wandering.pine for more tips this week!

The 10 Essentials 🎒
The first time I’d heard of the 10 essentials was in our son’s Scout Handbook.
It was this succinct list of survival items that every Scout should have on outdoor adventures in case of an emergency. Both of our boys assembled their items, and stowed them in their packs (just in case). Eventually, I would assemble my own 10 essential kit. Mine was in a heavy plastic box (3rd pic) and had extra items in it, but I felt pretty satisfied knowing that having this carefully curated little kit with me could possibly save my life.
You might not ever use all 10 items, and may sometimes wonder if you need to carry them all…but you’ll be glad you have what you need, should the unexpected happen.
Putting together your own 10 essentials kit is fun and you may already have many of the items.
The 10 Essentials List
- Navigation
- Flashlight/Headlamp
- Sun protection
- First aid
- Knife
- Fire
- Shelter
- Extra food
- Extra water
- Extra clothes/Insulation
The @11thessential is a Trash bag- bringing one is a great way to leave the trail better than you found it and clean up along the way!
To read more about the 10 essentials and see what I bring on every hike, visit this blog post.

Leave No Trace
I spoke to a group of Girl Scouts today that are working on their Junior Eco Camping badge this week, so I’m sneakin’ in a lil’ reminderoo today about Leave No Trace + 10 other tips for reducing impact at camp!
Leave No Trace
1. Plan ahead and prepare
2. Travel and camp on durable surfaces
3. Dispose of waste properly
4. Leave what you find
5. Minimize campfire impacts
6. Respect Wildlife
7. Be considerate of others
+10 more tips!
1. Leave camp better than you found it
2. Bring a trash bag on hikes @11thessential
3. Clean up trash when you see it
4. Take care of and repair your gear to make it last
5. Donate your old gear
6. Be careful with hammocks + tree bark (follow rules)
7. Use solar or rechargeable batteries
8. Volunteer at a park/trail
9. Reduce/Reuse single use plastics
10. Take time to appreciate and connect to nature-we care for the things we love.
How do you care for the trail and minimize environmental impact at camp? Share your helpful tips in the comments! 💚♻️
To read more about minimizing impact on the trail and leaving it better, check out this post.

Tick Prevention on the Trail
Are the ticks out yet?
In Minnesota, if you can see grass, the ticks are out.
Here are 5 tick prevention tips:
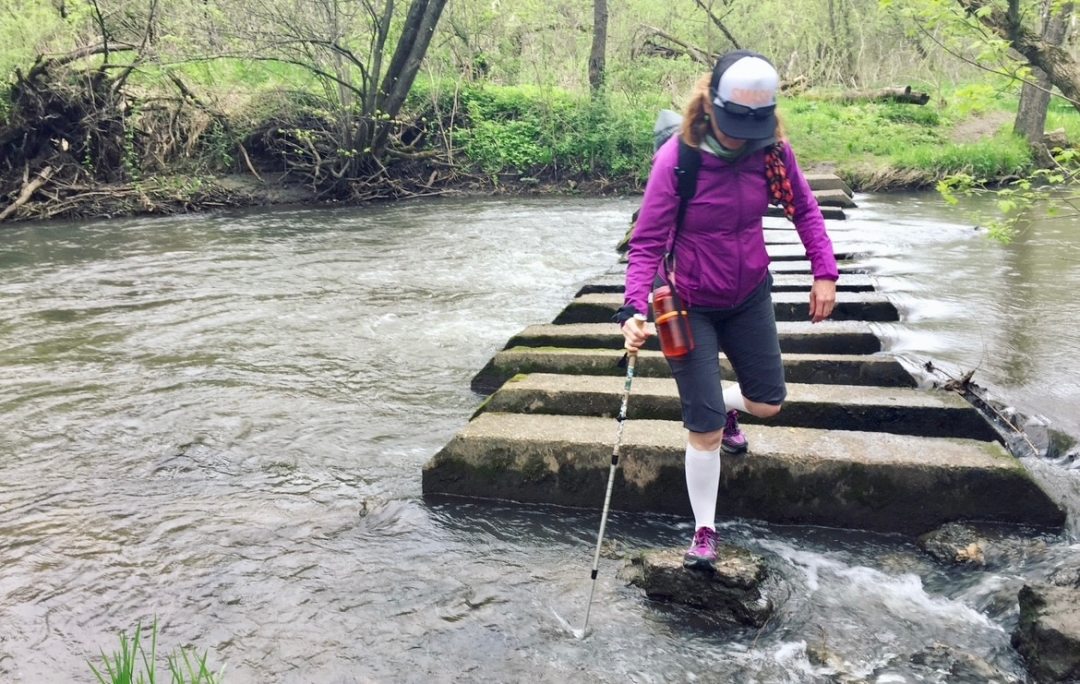
- Prevention: Avoid tall grassy areas if possible (see “don’t photo above), and be aware of where you sit or camp. Wear treated clothing/gear, netting, sprays and lotions.
- Daily Checks: Check your body (and your kids and pets) each day especially in the warm spots, waistline and folds for ticks. Shower after hikes if you can.
- Separation: Keep em outside! Be aware of hitchhikers on your gear and pets and leave them outside for a while before bringing them into your house.
- Proper removal: There are many old remedies out there, but the best is just to remove it with tweezers as close to the head as possible in a direct upward motion, careful not to squeeze the body or detach the head.
- Clean the area and monitor for changes: Clean the area with soap or hand sanitizer after removal and monitor it for a few weeks to see if any changes occur (not everyone gets a bullseye rash)
What I do to prevent Ticks and Mosquitos:
- Treat clothing- 1x per season in the spring-with Permethrin
- Use topical spray on skin– Picaridin, Natural (occasionally deet)
- Barrier- Headnet, Bug Jacket, Bug Pants (these can get hot while hiking, better for sitting at camp)
- Lint roller! Pro tip: Keep a lint roller in your car to catch the critters on skin and clothing before they attach.
To read more about the steps I follow from natural treatments to chemicals, check out this post or hit the featured posts link in my bio and follow @wandering.pine for more tips this week! https://wanderingpine.com/2019/04/28/tick-prevention-on-the-trail/

Foot care for the Trail
Today’s trail tip is about foot care and keeping those tootsies happy!
Our feet can take us to wonderful places, but without proper care, they can be a real pain.
I could write about feet for a week! But here’s a little list of 6 things that I’ve learned and hope will help keep your tootsies in tip top shape for the trail!
- Rule #1 STOP hiking if you feel a hotspot or pain and take care of it right away.
- Have a small blister kit that is separate from your larger first aid kit that can be kept in a close spot. This may include Leuko or KT tape, blister pads, and foot balm. Having a small, separate kit that is handy makes it easier to make a quick stop for a foot check.
- Get fitted for the right footwear, what works for one person might not work for the next (ie: boot, trail runner, zero drop, minimalist, etc-see more below)
- Periodically check the inside and outside of your shoes for weak or friction spots, compressed soles, worn out insoles-shoes don’t last forever, unfortunately.
- Pamper your tootsies: trim and file nails, remove calluses, and keep them moisturized BEFORE you hike (see my blog post for the hiker pedicure foot soak recipe)
- Read the book ‘Fix Your Feet’ if you have had foot issues, are a group leader or are planning a long multi day trip. Learn about shear, fit and friction. This book helped me figure out my fussy feet and I have used what I’ve learned to help other people I’m hiking with.
If you are just starting out, a pair of sneakers usually work fine for easier day hikes. Once you get a few miles under your belt and decide to get hiking specific footwear, I recommend talking to an experienced footwear sales person to get fitted.
Sizing and getting a shoe that fits your foot shape is very important, so don’t be afraid to ask for help. I ‘did my own research’ and made the mistake of buying shoes that were too big and too loose because I was told that my feet would swell on the trail. My feet didn’t swell, and I was left with a poorly fitting shoe and a nasty set of blisters.
Check out this 2 part post to learn more about how I prep my feet BEFORE a big hike, how I take care of them day to day ON THE TRAIL, the ingredients in my little blister kit and what DID and DID NOT work for me.
Treat Your Feet: Foot care for the Trail Part 1
Happy Feet: Foot care on the Trail Part 2
Wandering Pine is reader-supported and some of our blog posts may contain affiliate links. Learn more here.
Thank you for your support!